Buying guide · 6 min read
Is your roof ready for solar? A 10-point checklist
Ten things to check before you install rooftop solar in India: shade-free area, orientation, tilt, roof strength, waterproofing, structure height, access, earthing and the paperwork for shared roofs.
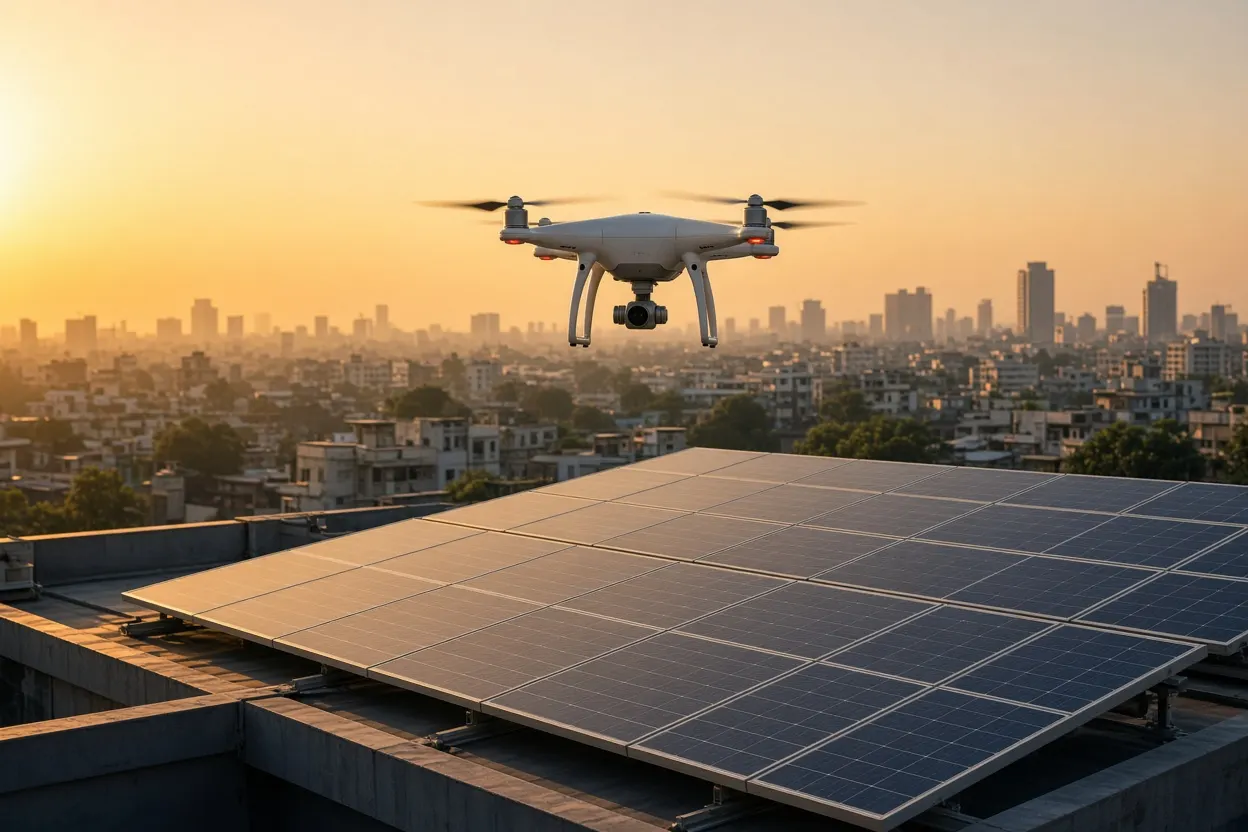
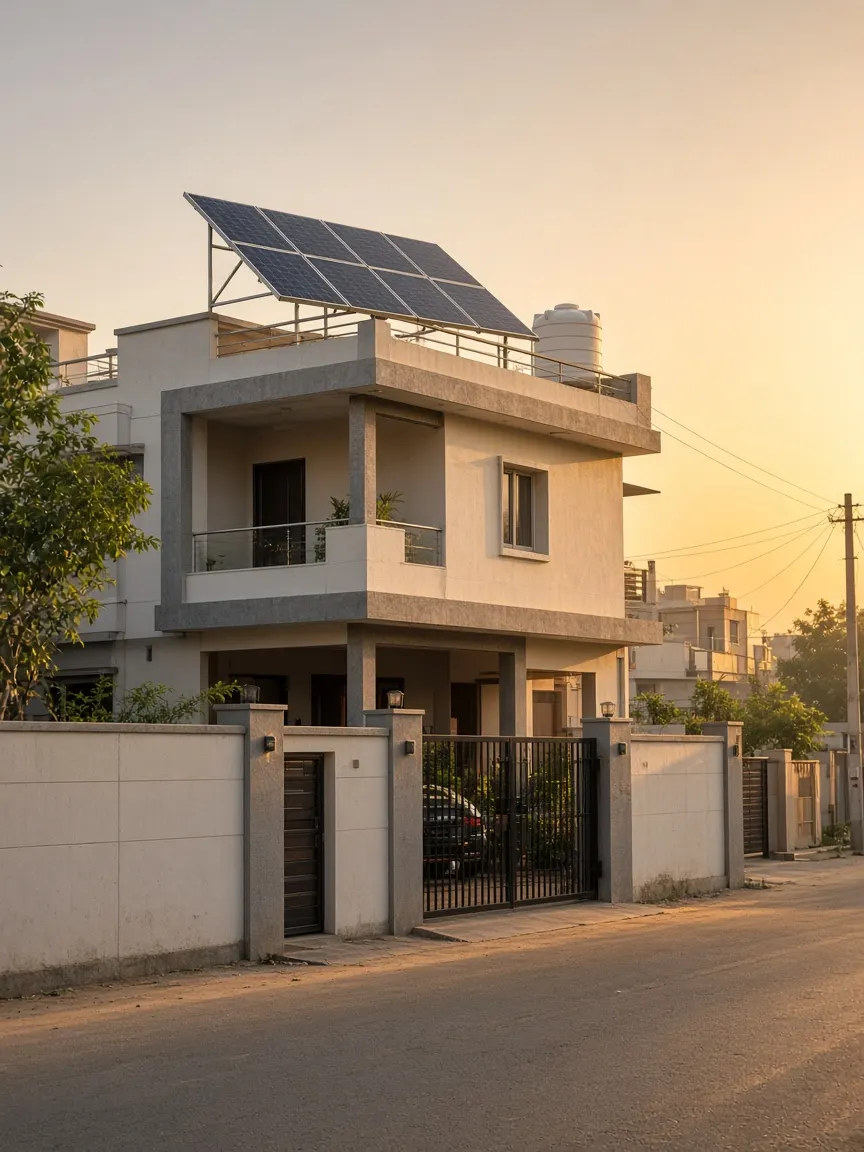
Solar panels sit on your roof for 25 years or more. A problem with the roof (too much shade, a weak slab, a leaking terrace, no access for cleaning) is far cheaper to find before installation than after.
This is the checklist our consultants work through on every site survey. You can use it to do a quick self-check before you call anyone.
1. Enough shade-free area
As a rule of thumb, plan for about 100 square feet of shade-free roof area per kW of solar. A 3 kW home system needs roughly 300 sq ft; a 5 kW system needs about 500 sq ft.
That means usable area: subtract the space taken by water tanks, stair rooms, parapet shade, solar water heaters and walkways. Elevated structures can help you use space above tanks or over a terrace you still want to use.
2. Shade through the whole day, and the whole year
Even partial shade on one panel can reduce the output of a whole string of panels. Walk your roof at around 9 am, noon and 3 pm, and look for shade from:
- water tanks and stair rooms on your own roof
- trees, including ones that will grow taller
- neighbouring buildings, including any under construction
- mobile towers, hoardings and cable lines
Remember the sun sits lower in the southern sky in winter, so shadows are longer then. A proper shade analysis accounts for this; a quick noon visit doesn’t.
3. Orientation: face south
In India, which lies in the northern hemisphere, panels produce the most energy over a year when they face south. East- and west-facing layouts still work, with some loss of output, and can suit roofs where a south-facing layout isn’t possible. North-facing panels should be avoided.
On a flat RCC roof, orientation is decided by the structure, not the building, so this is rarely a problem.
4. Tilt angle near your latitude
For the best year-round output, panels are usually tilted at an angle roughly close to your location’s latitude: lower in the south of India, steeper in the north. A small tilt also helps rainwater wash dust off the panels.
On sloped roofs, the existing slope often decides the tilt. That’s fine as long as it’s within a reasonable range and faces the right way.
5. Roof strength and condition
Panels and their mounting structure add load to your roof, and the structure has to withstand strong wind. Check:
- RCC roofs: is the slab sound, with no visible cracks, exposed reinforcement or sagging?
- Tin or metal sheet roofs: are the purlins and sheets in good condition, and strong enough for the structure to be fixed to?
- Older buildings: if in doubt, ask for a structural engineer’s opinion.
If your roof needs repair or re-sheeting in the next few years, do it before installing solar. Removing and refitting panels later costs money and risks damage.
6. Waterproofing
Most terrace leaks after a solar installation come from anchor bolts drilled through the waterproofing layer without proper sealing, or from structures that block drainage.
Before installation, check the current state of your waterproofing. During installation, insist that anchor points are sealed properly, or that a non-penetrating (ballasted) structure is used where suitable, and that drainage outlets stay clear.
7. Structure height for cleaning and the monsoon
A structure that is too low makes cleaning difficult, traps heat under the panels and can sit in standing water during heavy rain. A structure raised high enough to walk or work under also lets you keep using the terrace.
Higher structures need stronger design to handle wind loads, so the height should be decided by your designer, not chosen to save a few rupees on steel.
8. Safe access for cleaning
Dust reduces output, so panels need cleaning with plain water every few weeks, more often in dusty areas. Ask yourself:
- Is there safe access to the roof, ideally by a staircase rather than a ladder?
- Is there a water point on or near the roof?
- Can every panel be reached without stepping on others?
Panels that can’t be cleaned easily usually don’t get cleaned.
9. Earthing and lightning protection
A safe installation needs proper earthing for the panels and structure, the inverter and the AC side, plus a lightning arrester where the site requires one. Earth pits should be tested and their values recorded.
This is one of the areas where corners are most often cut, because it’s invisible once the job is done. It’s also one of the most important for safety and equipment life.
10. Inverter location, cable route and paperwork
Finally, the practical details:
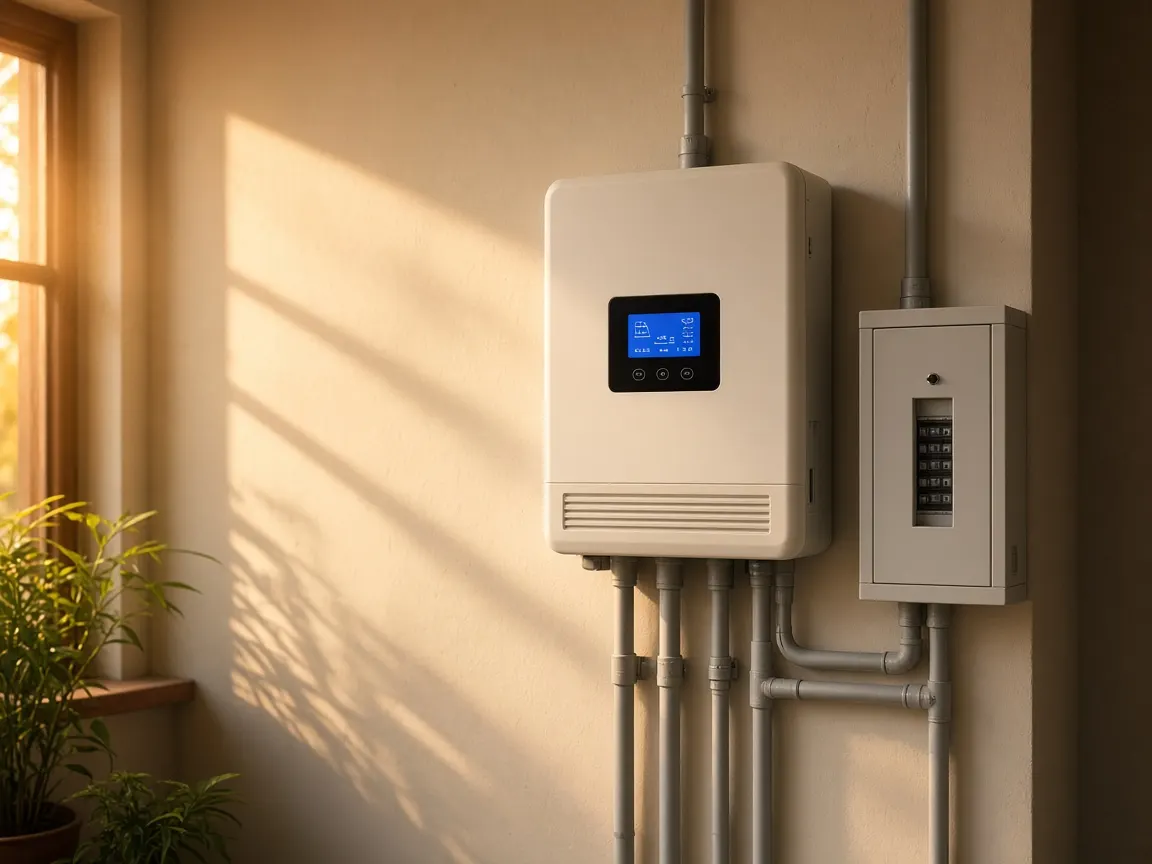
- Inverter location: a shaded, ventilated wall close to the main distribution board, protected from rain and direct sun.
- Cable route: the shortest safe route from the roof to the inverter and meter, with cables properly protected.
- Meter access: the DISCOM will need access to install and read the bidirectional meter.
- Ownership and permissions: the electricity connection should be in the applicant’s name. In apartments and housing societies, you’ll need the society’s NOC (or a resolution for a common-area system) before using a shared terrace.
Not sure about some of these?
That’s normal. Shade analysis, structural checks and earthing design are what a site survey is for. If you have gone through this list and you’re unsure about two or three points, a consultant can usually settle them in a single visit, before anyone quotes you a price.
Talk it through with a consultant
Straight answers on WhatsApp, or a free call at a time that suits you.